Saturday, June 30, 2012

Review: Modes4U - Bento Supply Shop & More!

A while back, I was contacted by Modes4u.com, and they offered to send me a couple of their items to check out and review here.  Always excited to play with new toys, I jumped at the chance.

The shop has a very diverse stock, but what I am most interested in, and what I think you will be most interested in, is their Bento supplies.  I had the opportunity to pick some things to try out, and it was a hard decision. 

Modes4u does ship from Hong Kong, so shipping takes about 5-15 business days.  They have a very detailed breakdown of their shipping costs, and if you spend over $78, your shipping is free.  I don't think it would be that hard to get to that level.   You can also pay for express shipping at a flat rate of $27.30 for your entire order.

They have a great variety of not only boxes, but also things like forks and sauce containers and silicone molds and the like.  A person could totally go crazy...

In addition to all of the bento items, they also carry really adorable fabric, bags (some bento bags!), craft supplies, and much more.
How cute is this???
I was totally drawn to the Building Block boxes... so I chose to get some in green sauce size.  The kids are a little in love with them!  They are just the right size for a little dressing or sauce, and they have a decently tight seal.  I wouldn't put anything too liquid in them, but for salad dressing or the like, they work well.

I've had my eye on this Little Red Riding Hood design for a while.  I decided to try out the small round container, because I knew it would fit in my beloved Easy Lunchbox. 

That wolf looks positively jolly!
It is so cute!

It also has a pretty sturdy lid.  It would be good for things like yogurt, I think (at least my pretty thick yogurt..)


I hope that you check out Modes4u and see what they have to offer.  I, for one, was impressed!


Disclaimer:  Modes4u generously provided me with the items for review without cost to me.  Other than receiving the products, I was in no way compensated for this review.


Pin It!

Wednesday, June 27, 2012

Recipe: Raspberry Lemon Bars

This is yet another recipe that was inspired by a King Arthur Flour recipe - this one for Lemon Squares.  I needed to make a recipe for a potluck I was going to, and lemons sounded like just the thing...

And then, raspberries were on sale.  This was meant to happen.

Make them.  They were refreshing and so easy.  A perfect summer dessert, in my opinion.


Raspberry Lemon Bars


Crust
3/4 c butter
1 /2 c all-purpose flour
1/3 c confectioners' sugar

Topping
3 large eggs
1 1/2 c sugar
4 Tbsp fresh lemon juice
1-2 Tbsp lemon zest
3 Tbsp all-purpose flour
pinch of salt
1/2 c seedless raspberry jelly
1/4 c raspberries

Preheat your oven to 350°F.  Line a 9" x 13" pan with parchment paper.

Mix the crust ingredients in a food processor and pulse to combine (or cut together in a bowl).  Press evenly into the bottom of you prepared baking pan.  Bake for ~20 minutes, or until lightly browned.


Whisk the topping ingredients in a bowl (except for raspberries and jelly). Heat the jelly in the microwave for about 30-45 seconds, until it is nearly liquified.  Spread the jelly evenly over the still hot cooked crust.  Place raspberries evenly onto the jelly covered crust.


Pour the lemon filling carefully onto the raspberry studded crust, and bake for 25-30 minutes, or until the topping is set.  Cool, cut into squares, and serve dusted with confectioner's sugar if desired.


Pin It!

Sunday, June 24, 2012

Recipe: King Arthur Flour's Crazy Blonde Brownies

I didn't modify this recipe too much from the original King Arthur Flour recipe for Crazy Blonde Brownies, so I will just let you follow the link.  I wanted to make sure to share it with you.  The mix-ins I chose were mini chocolate chips, caramel bits, and pecans.

I loved that the whole recipe came together in one pan, then poured it into the baking pan.  Super easy.
Melted butter plus brown sugar

All beautiful

Plus the other ingredients

I've always loved blondies, but I've never made them before.  I also enjoyed how versatile this recipe is.  You could stir in anything your inspiration brings you.
Mix-ins of choice
I think I'll be making them again.


Pin It!

Wednesday, June 20, 2012

Recipe: Banana Split Bread

While biking to work this morning, I was thinking about the bananas I had going brown in my kitchen, and I was thinking that I should make some banana bread.  My mind then wandered to the strawberries we picked last week, and how I need to use them, too...

Then a wonderful idea dawned on me.  Banana SPLIT Bread!


For me, a banana split needs to have banana, vanilla ice cream, strawberries, and chocolate.   I know that some people like maraschino cherries, nuts, and the like.  You could certainly add these things to the bread, but it might be overkill.  You could also add more than one layer of the fillings if you felt like it, or thicker layers... play with it.  :)

I took a standard banana bread recipe from King Arthur Flour, and I wanted to use their new Self-Rising Flour.  I've been experimenting with it, and I'm a little in love.  You can certainly follow the original recipe and use regular or white whole wheat flour and add leaveners.

The hardest part was waiting for it to cool before slicing!

Banana Split Bread
(Modified from King Arthur Flour's Heavenly Healthy Banana Bread)

3-4 medium to large over-ripe bananas (about 1 pound, before peeling)
1/2 c butter, melted
1/2 c brown sugar, firmly packed
1 tsp vanilla extract
1/2 tsp salt
1/4 c maple syrup
2 lg eggs
2 c King Arthur Flour Self-Rising Flour

2 oz cream cheese (I used neufchatel), softened
1/8 tsp vanilla extract
1/2 c sliced strawberries
2 Tbsp mini chocolate chips

Preheat oven to 350 F.  Grease and flour a 9" x 5" loaf pan.

Mash the bananas, then cream in the butter, brown sugar, vanilla extract, and salt.  Stir in the syrup and the eggs.  Add the self-rising flour and mix until well combined.

Stir together the cream cheese and the vanilla.  Place into a pastry bag with a small hole cut in the tip.


Put half of the banana bread batter into the pan and smooth with a spatula.  Pipe a thin line of the cream cheese down the length of the batter in the pan, then follow with a stripe of sliced strawberries, then repeat with another line of cream cheese, followed by a line of mini chocolate chips, and a line of cream cheese.  Repeat until you reach the other side of the bread pan.  (You may have some of the fillings left over.  Do what you will with them - add them on in if you like, or save them for other purposes!)


Top with remaining batter, carefully so as not to disturb the stripes.  Smooth the top gently.  Bake for 55-60 minutes, or until a knife inserted into the center comes out clean (except for the cream cheese!).  Cool on a wire rack in the pan for 20 minutes, then remove from the pan to cool completely before slicing and enjoying.


Pin It!

Tuesday, June 19, 2012

Recipe: Chilled Farmer's Market Soup

It's going to be hot here for a couple of days, and so I wanted to give cold soup a try.  Last week, I made this chilled sweet corn soup (amazing!  Pictures on my Facebook page) and the family (and some guests) loved it.  So today, on the way home, I stopped by a Farmer's Market and snagged some veggies to make another chilled soup.

I got some cucumbers, baby golden beets, and yellow cherry tomatoes.. sounds like a yummy soup base to me!


Chilled Farmer's Market Soup

1 1/2 c cherry tomatoes
1 head garlic, peeled
1 onion, chopped
1 small bunch (about 1 c) small golden beets, peeled and quartered
2 large cucumbers, peeled and chopped (about 5 1/2 cups)
2 Tbsp olive oil
1 c broth (I used chicken, you could use vegetable)
1/4 c coconut milk
1 Tbsp dried basil (to taste)
salt to taste

Preheat oven to 450 F.  In a small roasting pan, combine cherry tomatoes and garlic cloves with half of the olive oil.  Toss to coat.  In another roasting pan, combine the onion and the beets with the other half of the olive oil.  Roast the tomatoes and garlic for about 25 minutes, and the beets and onion for about 40 minutes, or until softened.
Roasted garlic and cherry tomatoes

Roasted golden beets and onions
Cool the roasted vegetables softly and then put into a large pot or a bowl with the cucumbers.  Add the broth and the coconut milk and puree with an immersion blender (or use a blender, in batches).  Stir in the basil and salt to taste.

Roasted veggies with cucumbers
Chill and serve, with a drizzle of additional coconut milk if desired.

(I served it along with some self-rising garlic biscuits, made with King Arthur Flour's new Self-rising flour!  Yummy!)


Pin It!

Saturday, June 16, 2012

Giveaway WINNER: Pain de Mie Pan from King Arthur Flour

Thanks to everyone who entered my King Arthur Flour Giveaway!

As chosen by Random.org, the winner is #9 - Ubelle:
  
Wow so hard to pick just one.
Going with the Grain: Whole Grain Baking

Congratulations!  I'll send you an email to get your contact information, so that I can send it on to the good folks at  King Arthur Flour so that they can get your prize right out to you. 

I've got another review & giveaway coming soon, so stay tuned!


Pin It!

Tuesday, June 12, 2012

Recipe: Hello Summer Strawberry Rhubarb Pie

Don't miss your chance to enter my giveaway for a Pain de Mie Pan from King Arthur Flour!


The kids' last day of school was yesterday, and on a whim, I decided that we should go strawberry picking.  The pick-you-own farms here are in full swing, and the berries we got are beautiful.

Thanks to King Arthur Flour's Blog & Bake, I no longer have pie crust anxiety, so I headed home, picked some rhubarb from our garden (one of the only crops we have, because the woodchucks don't eat it... I have given up on everything else but the apples...), and put together a strawberry rhubarb pie.


Now, there are any number of strawberry and strawberry rhubarb recipes out there, and I've made many of them.  But, The Hubby's birthday is coming up next week.  His favorite dessert is strawberry rhubarb.  When I sent him a text message that the kids and I were going strawberry picking, he wrote back "Guess it's time to pick the rhubarb, too..."  I can take a hint.  And, I wanted to show off my newly confident pie crust.  So, pie it was.


The filling on this pie could use a little work, because it's a bit soupy... but... it is a totally delicious soup.

I used some of my special King Arthur Flour vanilla blend in it, and you can totally taste it. 

I also used some Pie Filling Enhancer.  Apparently, I should have used more.

I may have just had a piece of pie for breakfast.  I did it for you.
I'm not going to post the whole recipe here, because it isn't mine.  The pie crust recipe is straight from King Arthur Flour, and the pie filling recipe is straight from one I found on Tasty Kitchen.  The only change I made was to use the vanilla instead of cinnamon, and I used the pie filling enhancer in place of corn starch.

So, Hello Summer!!  Have some pie.


Pin It!

Sunday, June 10, 2012

Lunch: 6.11.12 - Last Day of School!

The Boy has a school bbq today, so I only had to pack lunch for The Girl... and it's the last day of school before summer break!

While we are all looking forward to the break, I will have lots of things to blog about over the summer.  First and foremost, don't miss your chance to enter my King Arthur Flour Giveaway.

The Girl has a banana for snack (no picture).


Her lunch is chicken sandwiches on wheat bread with small flowers of cheese on top of the sandwiches, some pesto palmiers leftover from Blog & Bake, baby carrots, and a peach.


Pin It!

Friday, June 8, 2012

King Arthur Flour Blog & Bake: Part 6 (And a Giveaway!)

I had so much fun at this year's King Arthur Flour Blog & Bake (see Part 1, Part 2Part 3Part 4, and Part 5)  This is the final recap post from the Blog & Bake.. I hope that you have enjoyed reading about it.


The final thing that we got to do at King Arthur was to take a tour of the test kitchen and the packaging facility and warehouse.  It was very interesting!
Recipe details blurred to protect the innocent.
Each recipe in the test kitchen goes through many different iterations before it is perfected.  If you eat something that comes out of the test kitchen, you have to take notes.


The test kitchen smelled so good, I couldn't even imagine working there.  I think the aroma alone would cause me to gain weight.

After the test kitchen, we went on to the customer service and Baker's Hotline area.  These are the people you'll talk to if you call to find out why your bread isn't rising...


From there, we went on to the backstock area, where all of the base ingredients are stored.

We also got to peek into the place where they mix all of the components for their mixes together.  The shift was over, so it wasn't very interesting at that time, but it was still cool to see.  Their facility doesn't use any peanut ingredients at all - though other nuts are present.  The mini peanut butter cups that they have are packaged elsewhere.  I thought that was interesting.


Finally, we saw the fine people who pick and package all of the orders that are placed from the catalog and the website. 

Your order starts in one of these blue bins.

And that was pretty much it for the Blog & Bake!  I managed to go home with about 40 lbs of flour from the store, along with a slew of other fun ingredients... for even more pictures, you can check out this album at my facebook page.

One of the best parts of Blog & Bake was meeting all of the other wonderful bloggers.  Those in attendance were:

Regan – The Professional Palate
Julie – Mommie Cooks
Megan – Stetted
Matt – Thyme In Our Kitchen
Carolyn – Whisk. Write. Repeat.
Carrie – Bakeaholic Mama
Lisa – Fork On The Road
Mark – The Manly Housekeeper
Jenny – Nourished Kitchen
Rashmi – Primlani Kitchen
Tara – Smells Like Home
Winnie - Healthy Green Kitchen
Nikki – Art and Lemons 
 ****************
Image courtesy King Arthur Flour
Now for the fun part!  King Arthur Flour wants to spread the baking love, and what better way than a giveaway?  One lucky reader will win my favorite, a pain de mie pan!

All you have to do is go to their website and tell me what class you would most like to take in your dreams, or tell me what class I took that you would have liked to sit in on.  One lucky reader, chosen at random, will win the Pain de mie Pan.  That's it.  (You are not entering to win a class, just the pan)

As always, I need a way to contact you.  Anonymous commenters, with no contact information, cannot win.  If I can't contact you, I can't get your information to King Arthur Flour, and you can't get your prize.  Simple as that.

One comment per person, please.  US entries only, please.

I will choose a winner, using Random.org, on Friday, June 15th, at 6 PM ish, EST.

Disclaimer: Although the Blog & Bake was free of charge to me, I was not compensated for sharing all about King Arthur Flour with you.  All opinions are my own.  The prize is donated by King Arthur Flour.


Pin It!

Thursday, June 7, 2012

Lunch for The Boy: 6.8.12

I've been busy blogging all about this year's King Arthur Flour Blog & Bake (Don't miss Part 1, Part 2Part 3Part 4, and Part 5).  But, there's still a couple days of school left this year, so there are still lunches to be made.

The Girl has a school barbecue, so she doesn't need a packed lunch.  So, here's what I have for The Boy.  He has a banana (no picture, 28g) for snack.

Palmiers: 10g, apple slices: 6g, strawberries: 6g, sandwich: 25g
His lunch is some pesto palmiers that I made at the Blog & Bake, apple slices, strawberries, and a salami and ham sandwich on some basic white bread I made at the Blog & Bake.


Pin It!

King Arthur Flour Blog & Bake 2012 - Part 5!

I was very lucky to be invited to this year's King Arthur Flour Blog & Bake (Don't miss Part 1, Part 2Part 3, and Part 4).


As my readers may be aware, I have suffered from pie crust anxiety in the past.  I have recently learned to make a decent crust, but the opportunity to learn pie crust from the masters at King Arthur Flour was so exciting I had a hard time containing myself.


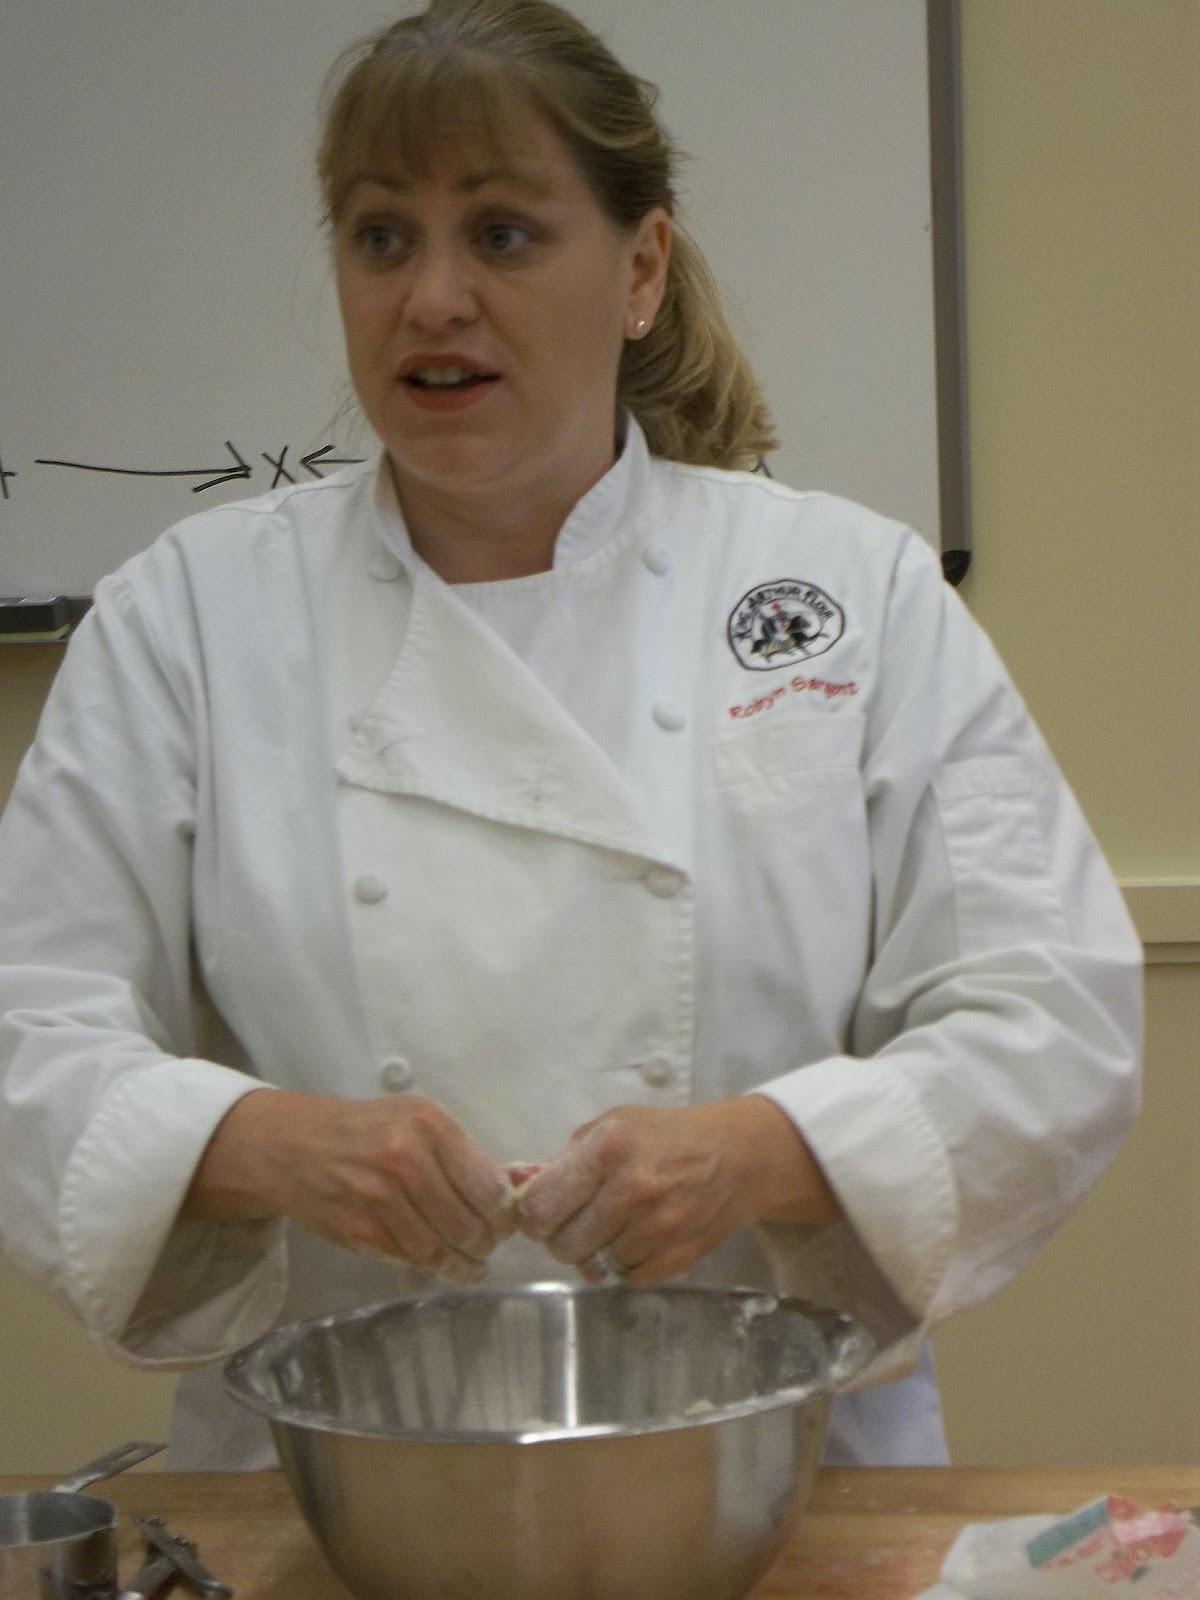
Our instructor for the Portable Pies class was Robyn Sargent.  Despite what is says on the white board behind her, she is neither short nor flaky.


We learned how to make two different kinds of pastry crust - basic all butter pastry crust (with which we made brown sugar and cinnamon toaster pies), and a half butter-half lard pastry crust (with which we made chick pea and chorizo empenadas.  That's right.  And yums).

For both of these crusts, we used unsalted butter and all-purpose flour.  Higher protein flours would result in a chewy crust, and lower protein flours would result in a "short," or cookie-like crust.  While Robyn told us that food processors are a great way to make pie crust - simply pulse gently with a metal blade - she wanted to teach us how to do it right by hand.


You may be wondering about the lard.  It is traditional in things like the empenada dough.  Robyn asserted that lard has gotten a bad rap.  This is because it must be fresh, as it can easily go rancid, and that's just nasty.  While lard is saturated fat, it's at least a natural fat, and not full of chemicals and processing.  So there is that.  I still don't see myself going out and buying lard, but she made a valid point.


The key to good crust is to reach the magic spot between "short" and "flaky" - and the best way to do this is to cut your butter into the flour in two different sizes.  Mix in half the butter in small pieces until the mixture resembles corn meal.
Big hunk o' butter


Flattened!
For the second half of the butter, you want it in rather large pieces.  Toss these in flour, and then flatten them one at a time and put them back into the bowl.  This doesn't have to be perfect, but it will create great flakes in your crust.

That's a nice pie dough
Robyn advocates mixing the flour and butter mixture with your fingertips.  The flour insulates the butter a bit, so it shouldn't melt.  You want to add in just enough ice water so that the dough holds together in a ball, and once the water is added, it's easier to toss it around with a bowl scraper.  If your dough is cracking, you need to add a little more water.  Robyn added it a tablespoon or two at a time.  The ball should form and begin to essentially clean the bowl as it forms.

Bloggers making crust
When the bowl is formed, you need to wrap the ball in plastic wrap and flatten lightly into a disc.  Then, it needs to chill for about half an hour.  This resting will allow the flour to completely hydrate, and it will relax the gluten, so that your final crust is smooth.  Visible butter ("VB") is a really good thing.

Another important lesson we learned was on rolling dough.  If you saw your rolling pin back and forth willy nilly, it will toughen the dough.  The best way to roll is to start in the middle and press outward, then flip, and repeat, until your dough is uniform thickness.


Now, for the toaster tarts, we rolled the dough into two even rectangles.  Yes, a ruler was used.  We used the ruler to press the dough into a good rectangular shape, and to measure out our dough so that the top and bottom crusts would be the same size.  The filling we used was the brown sugar and cinnamon filling that is listed on the recipe I linked to above.

For the empenadas, we cut the crust with a fluted round cookie cutter, filled with about a tablespoon of filling, folded over, and pinched shut.  These were treated with egg wash.

Finished toaster tarts

Finished empenadas

That's a nice flaky crust.

Now that we knew how to make pie crust, our next class brought it a step further, and we learned how to make what King Arthur calls "Blitz Puff." 


This is not traditional puff pastry, but is similar in applications.  It does not have as many layers as traditional puff pastry.

Our instructor for the Blitz Puff course was Susan Miller.  She was lovely, and you can tell that she has real passion for what she does.  I always like that in a person.

The main things that set this dough apart from regular pie crust are that you use more butter in relation to flour, and  that you add (full fat) sour cream.  The butter should all be in larger pieces.  She also liked using a pastry cutter for this crust (where we'd been getting our hands very dirty up to now, it was weird to use utensils not attached to our bodies!)

Lookie, it came together!
When kneading in the sour cream, Susan said that there is always that moment of terror that this time, the dough won't come together, but will stay a pebbly mess.  But, low and behold, it comes together after a bit of kneading, and it is beautiful.


So, the next thing to do is to make the layers.  Roll the dough out thin, to about the size of a sheet of standard paper, then fold it into thirds like a business letter, dusting off any flour on the surfaces.  This is then rotated 90 degrees, and rolled out again into another rectangle, and rolled again.  There you have your layers.  (For traditional puff pastry, this step is repeated something like 7 times).  The folded dough should be wrapped and chilled.

If you wanted to store this in your freezer, you could do so at this point.  You can also roll and freeze it into your final desired shapes.  When you defrost it, you want to do so in the refrigerator, not at room temperature.
Susan's galette, pre-baking
My galette, pre-baking.
We then used half the dough to make beautiful galettes (ours were topped with lovely fresh nectarines and strawberries).

After baking, they got a nice apricot glaze (courtesy Matt, from Thyme in Our Kitchen)
I was so proud of mine!!


With the other half of the dough, we made palmiers


I filled mine with a thin layer of pesto.  Some other bloggers used coarse sugar.  I don't have any finished pictures of the palmiers, but take my word for it that they turned out beautifully flaky and yummy.
Occupational hazard - flour was all up in my shoes.
So now, I have conquered my pie crust anxiety, thanks to the wonderful help of King Arthur Flour!   I have one more post to make about the fabulous Blog & Bake experience, where I will show you a bit of our tour of the test kitchen and the warehouse facility.  I'll also share some more photos of things that didn't quite fit into the other posts, including a wonderful local foods lunch that we had, and ... I may or may not have a giveaway coming your way, so stay tuned!


Pin It!